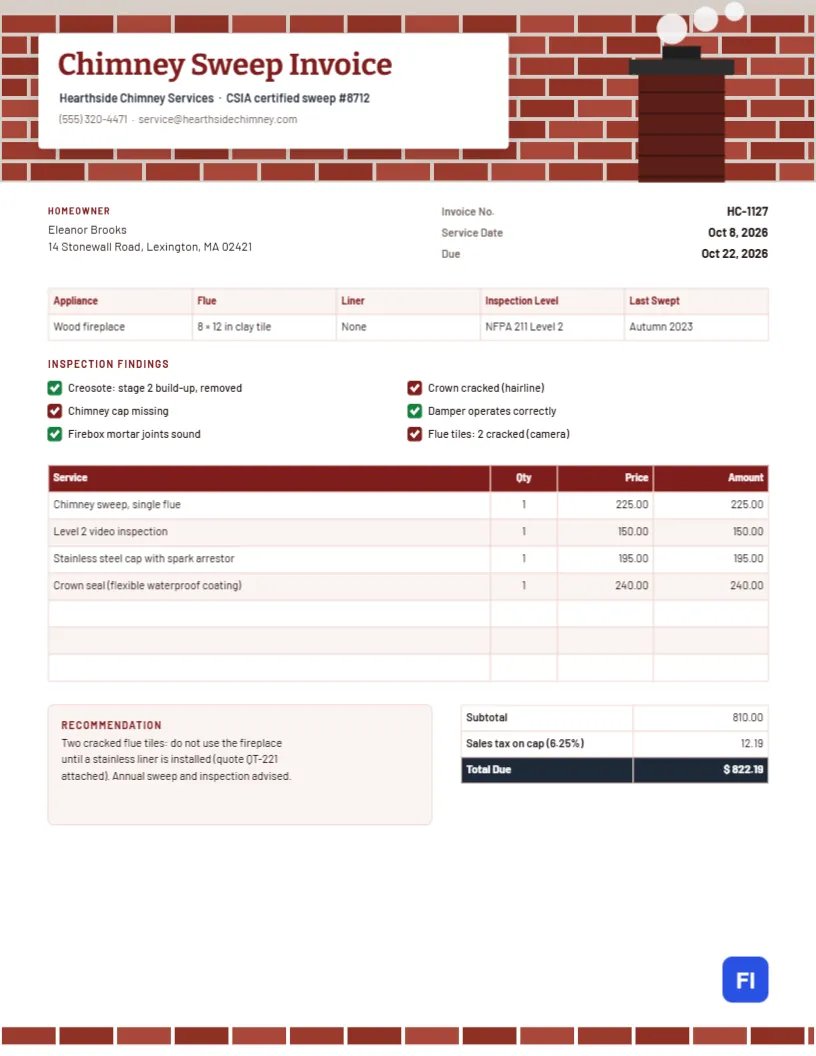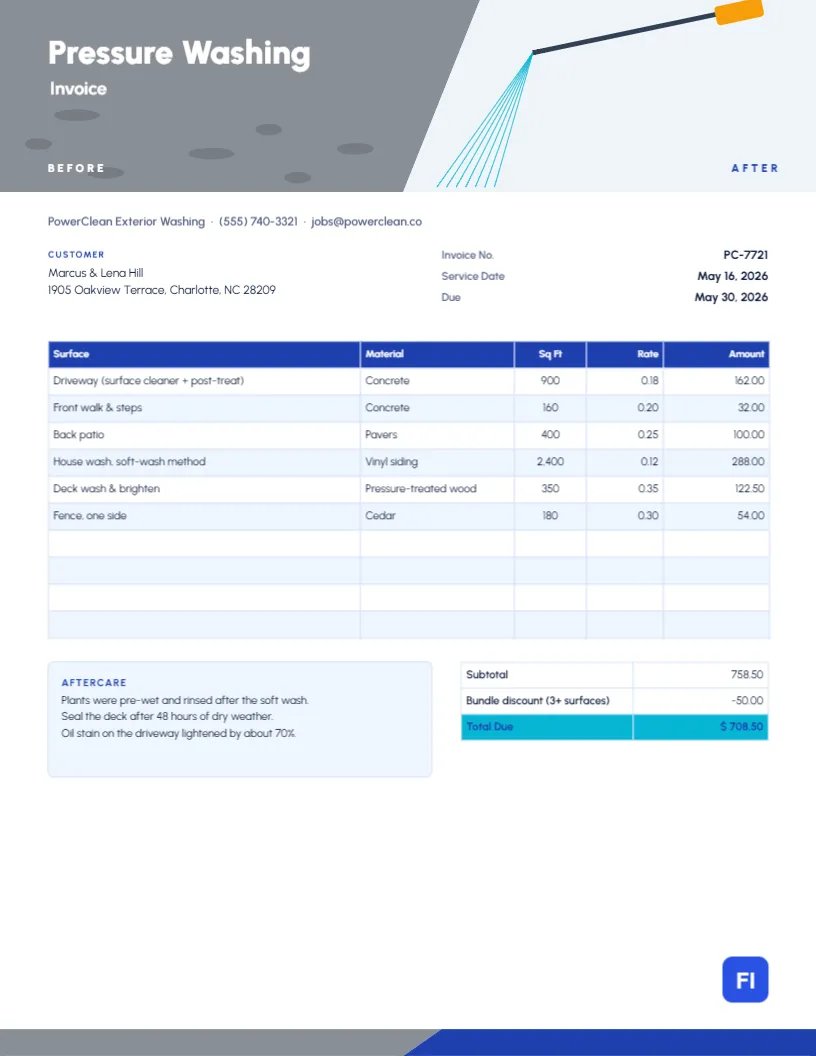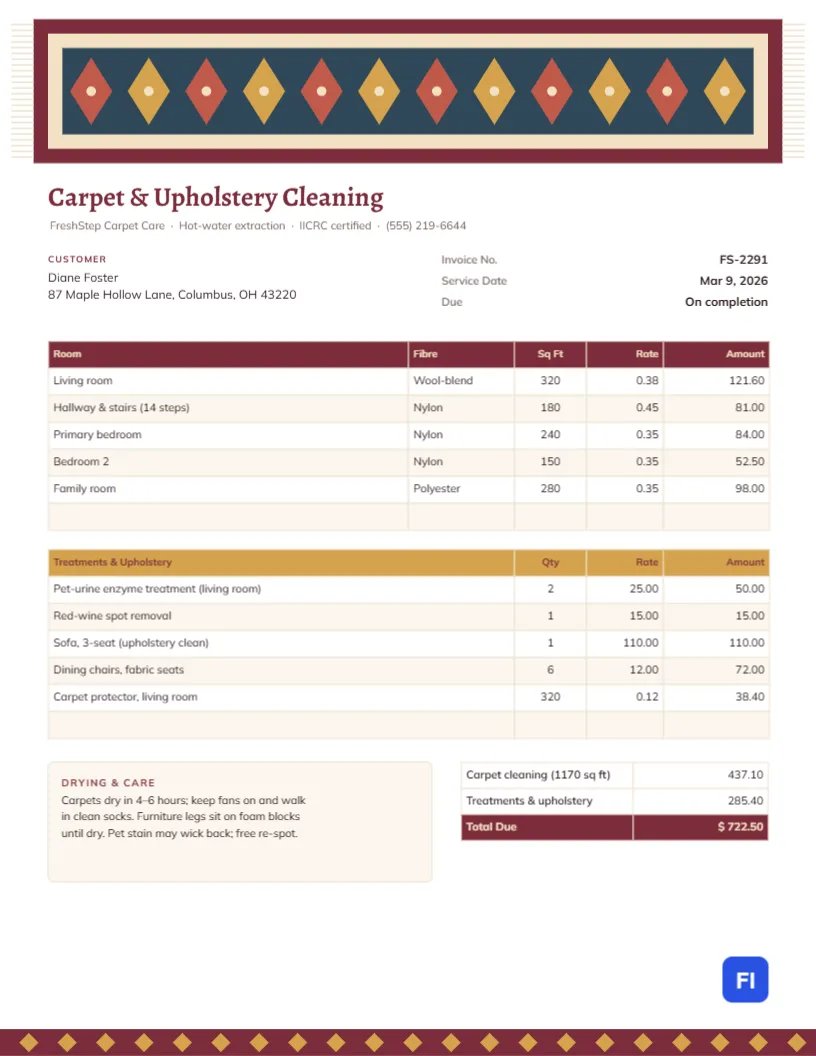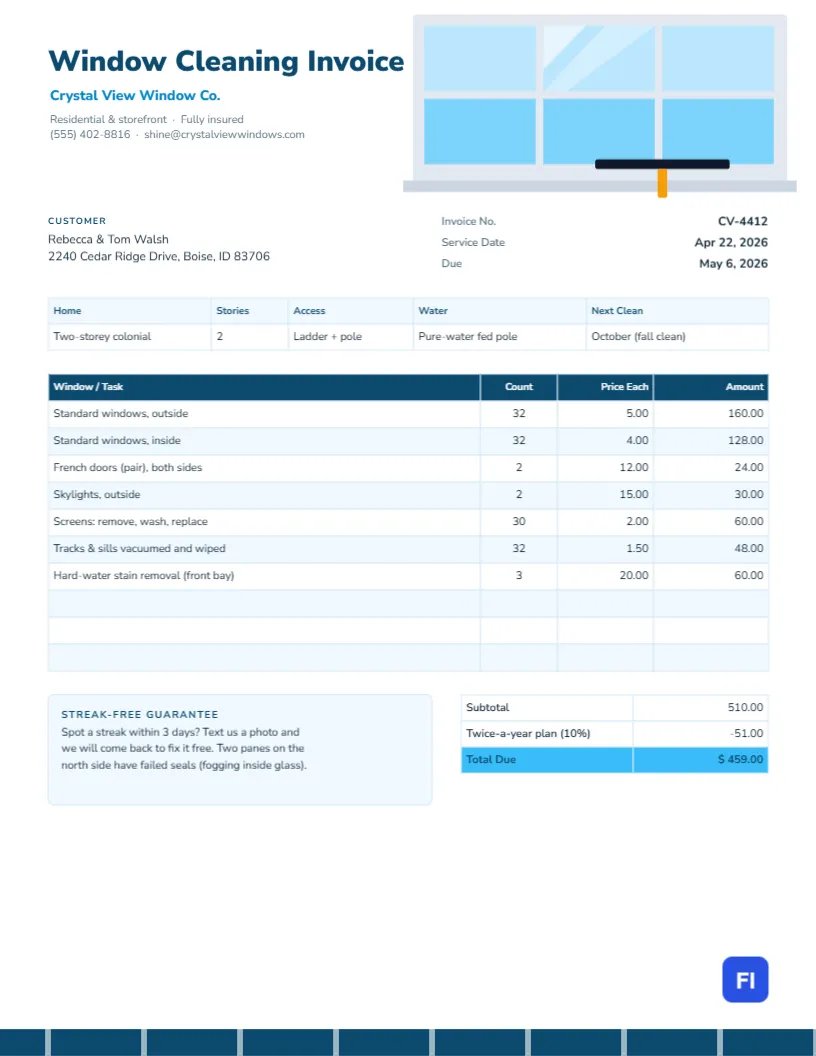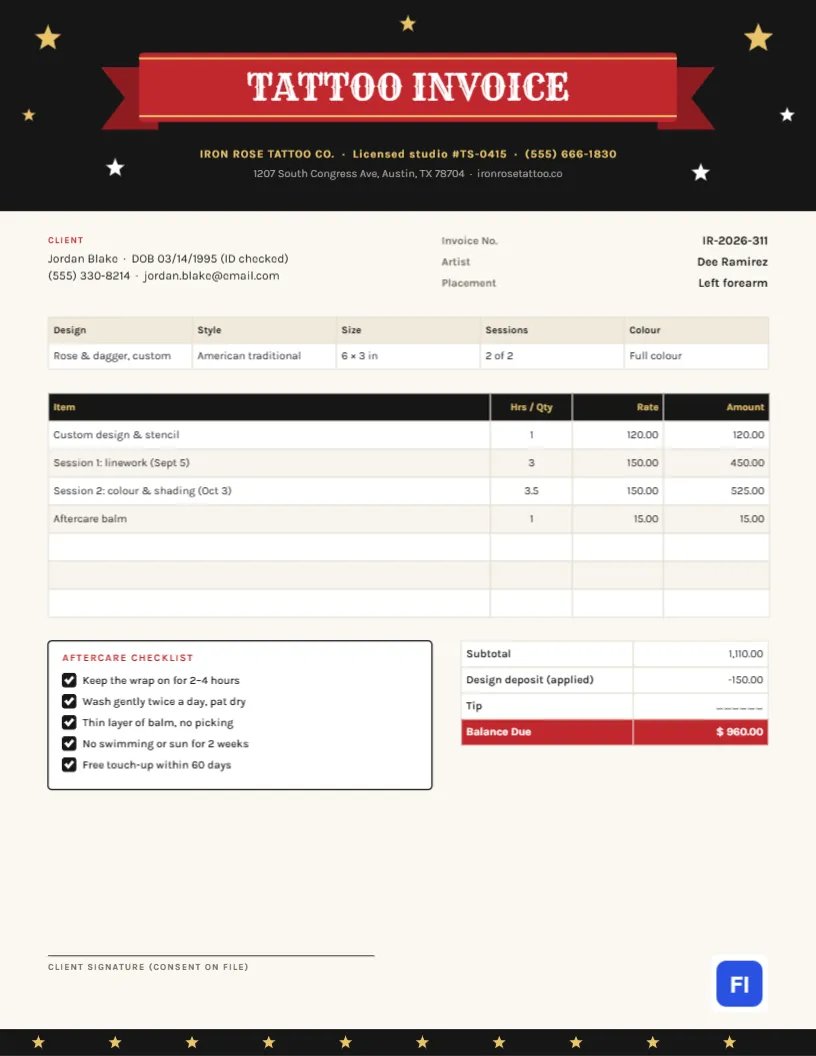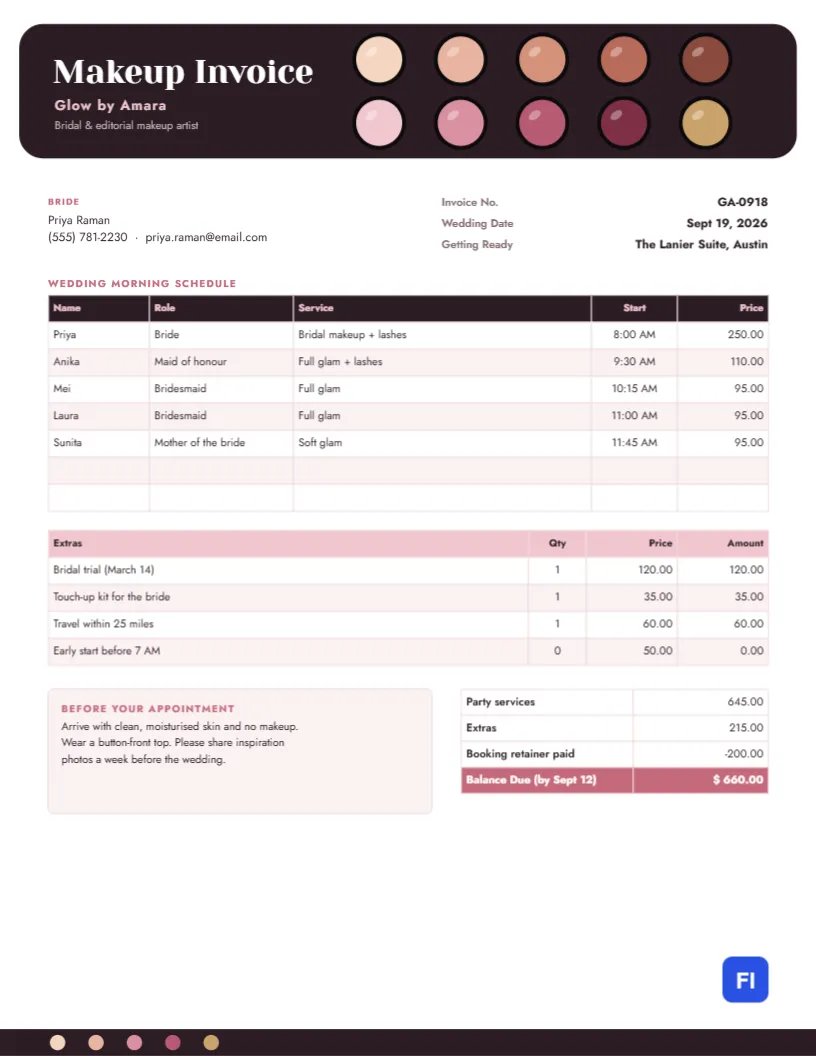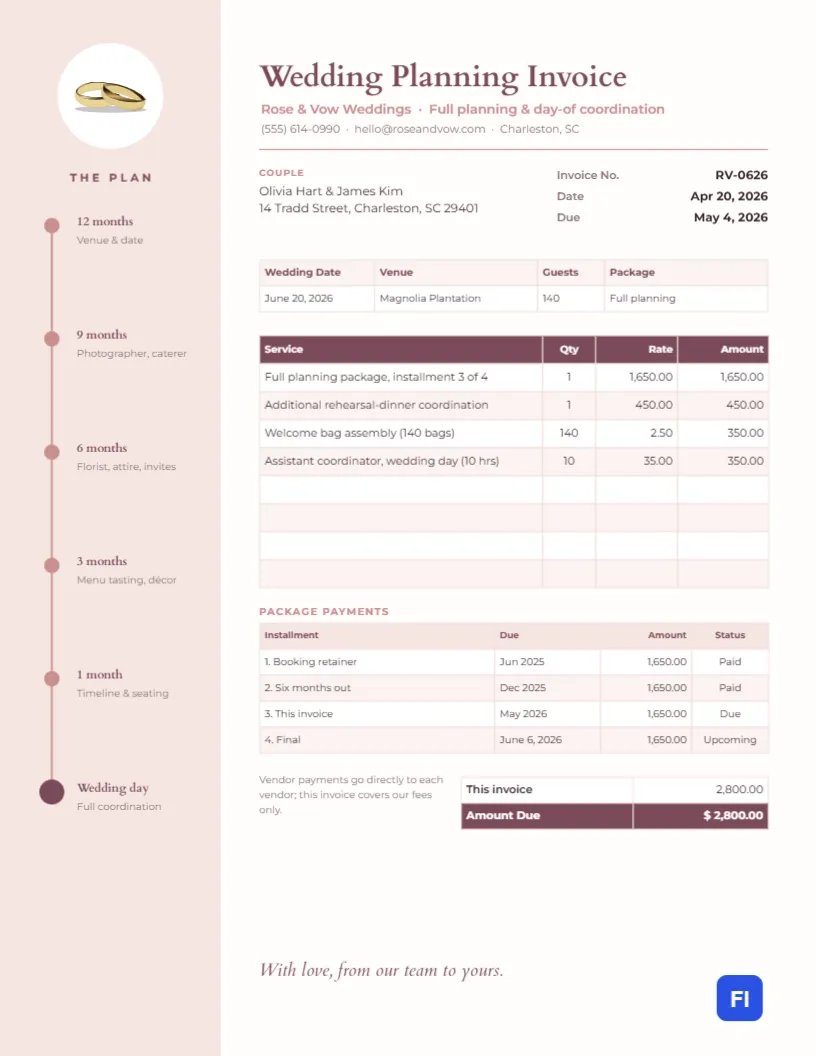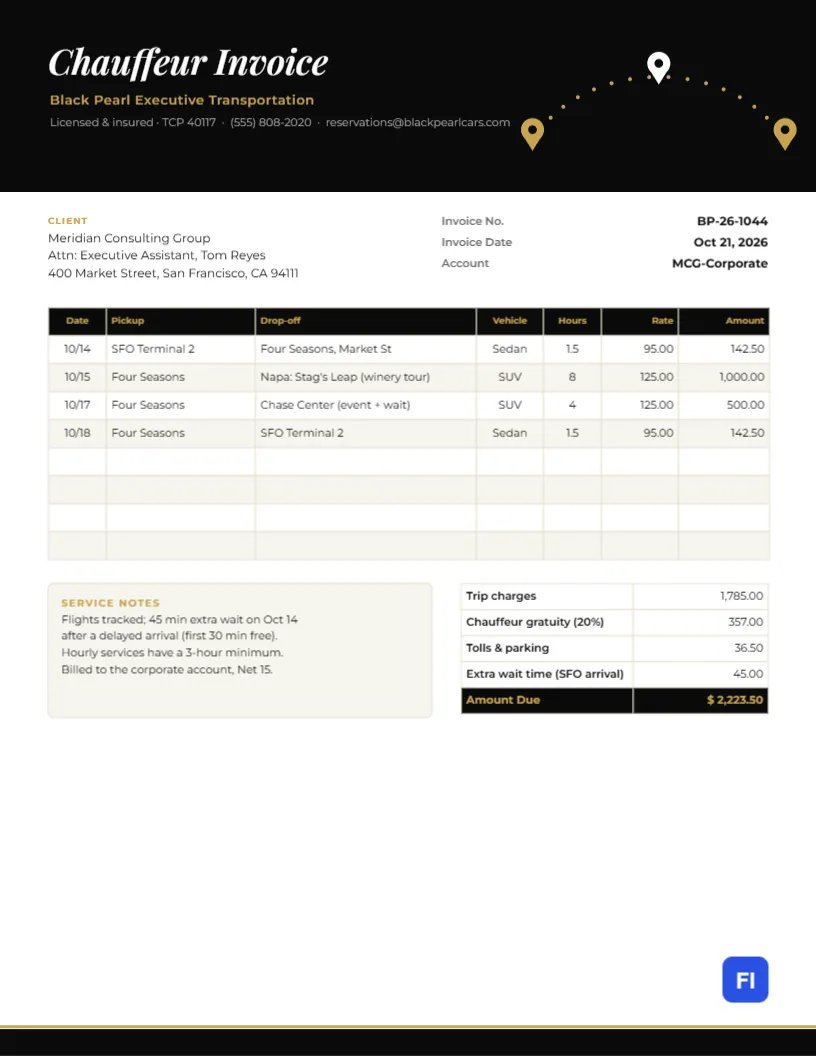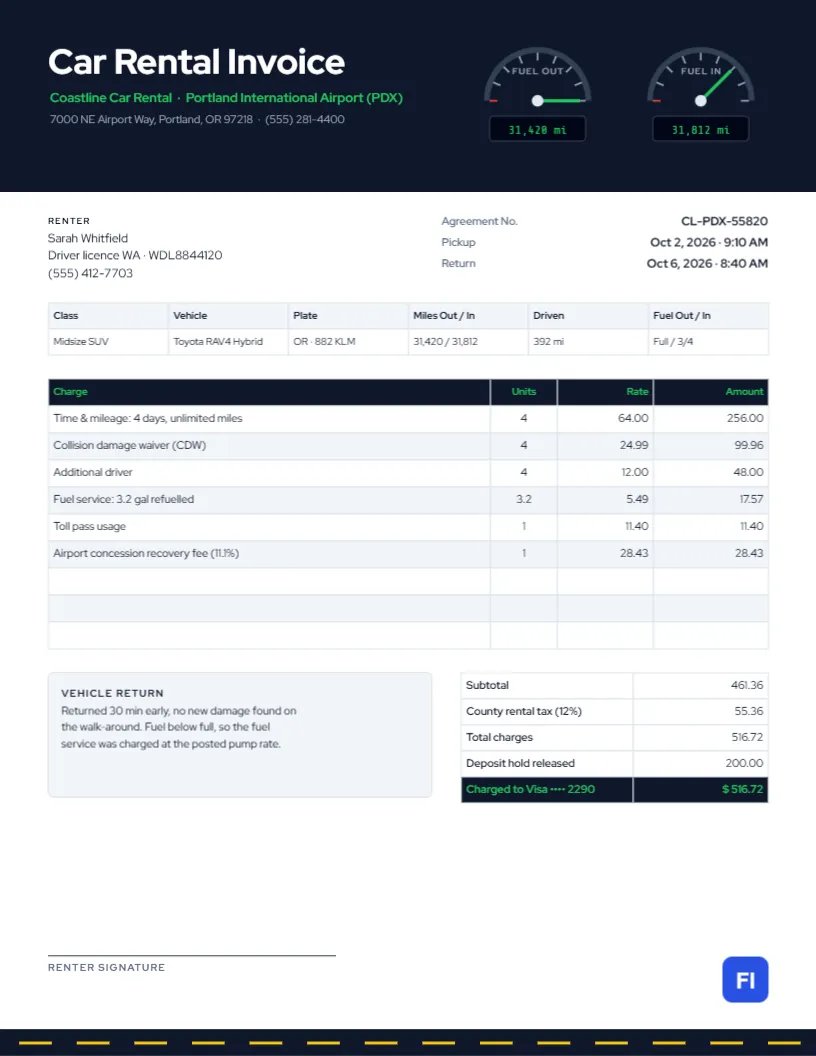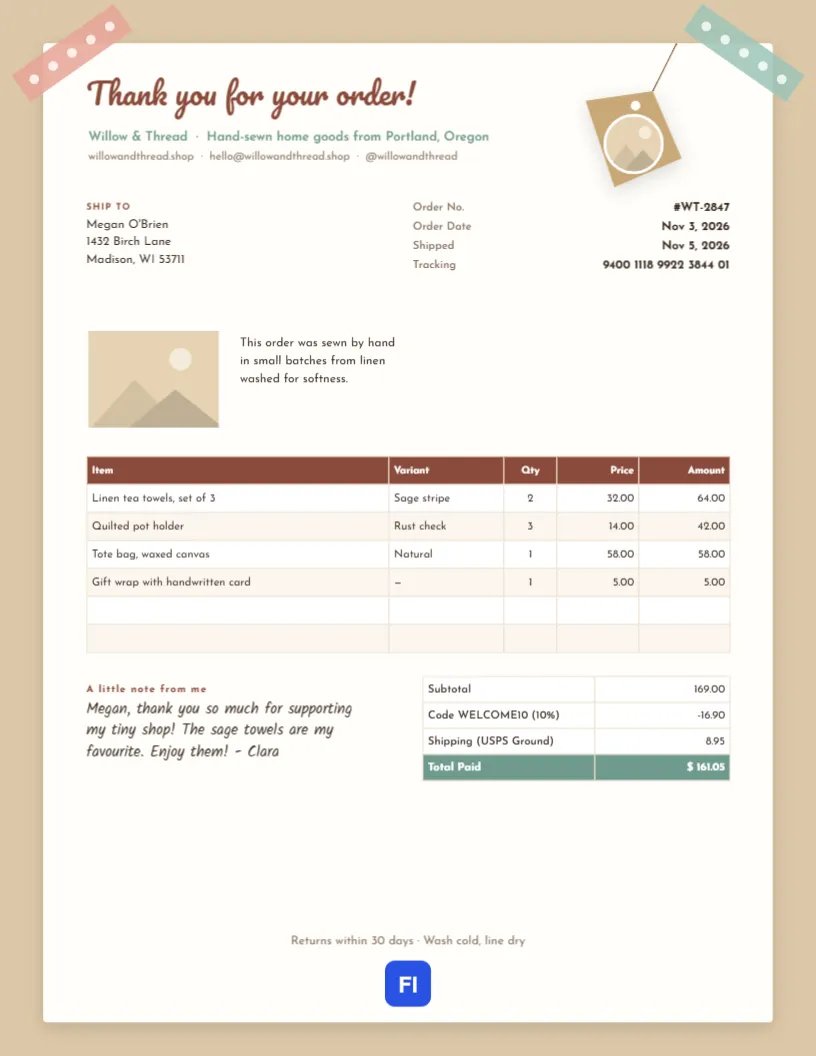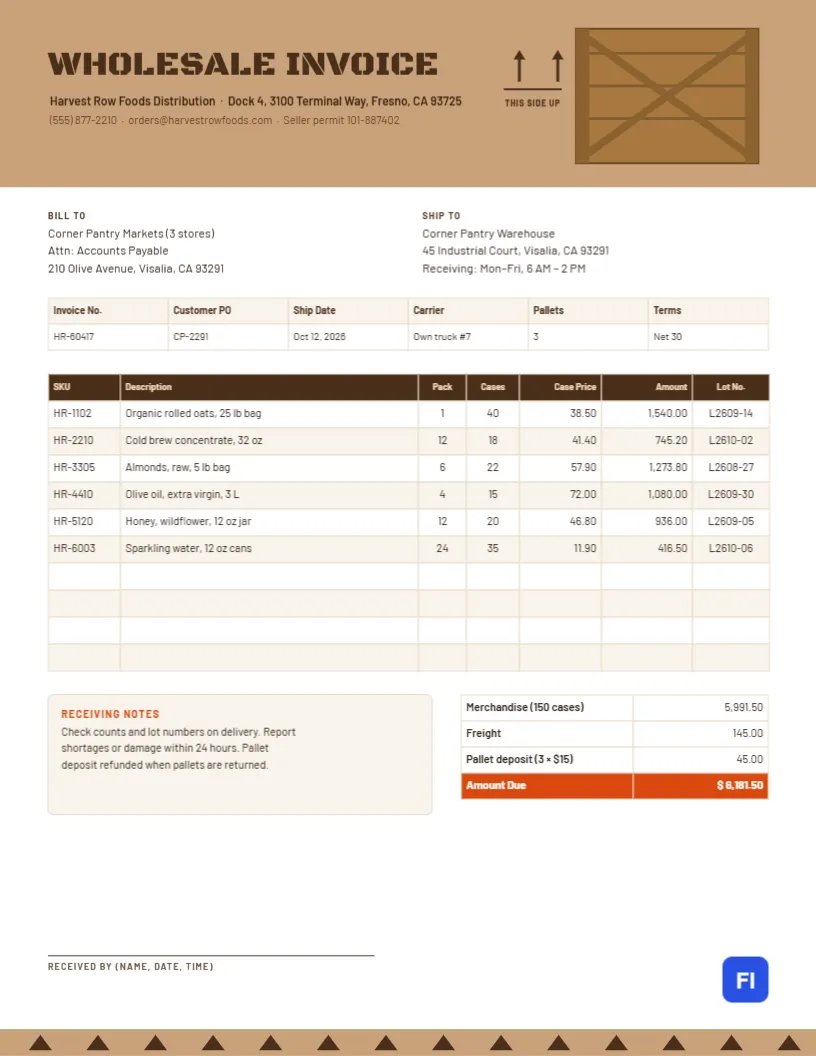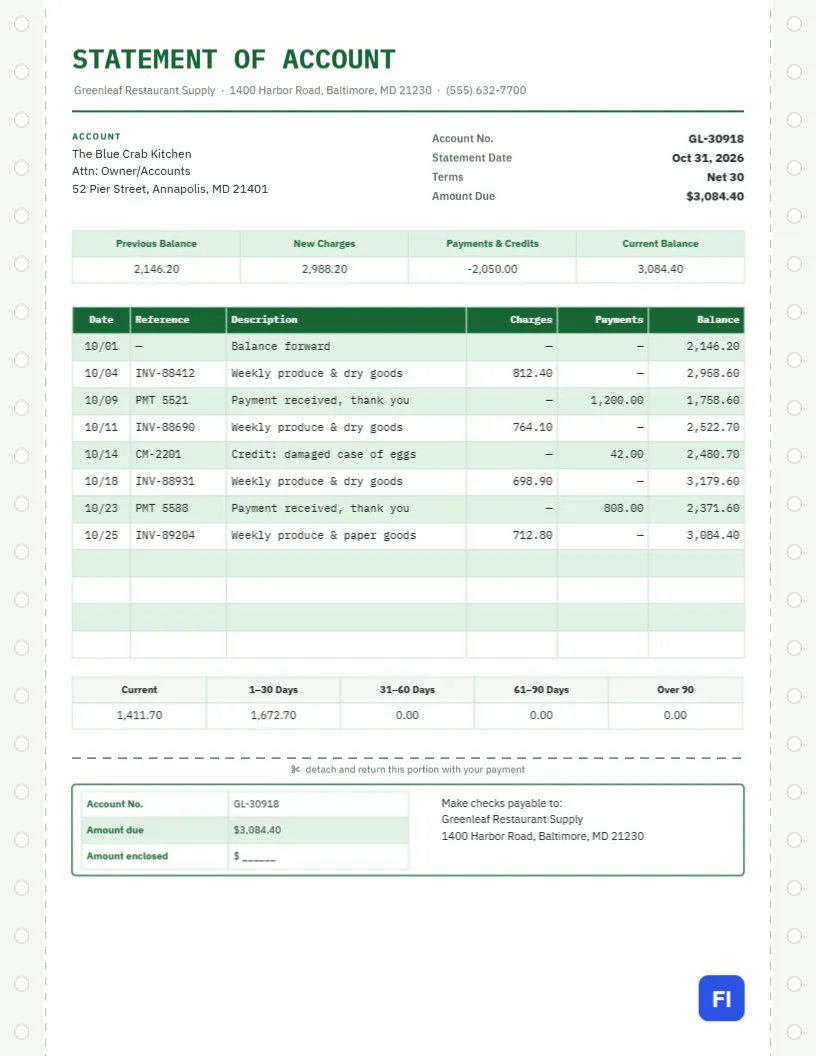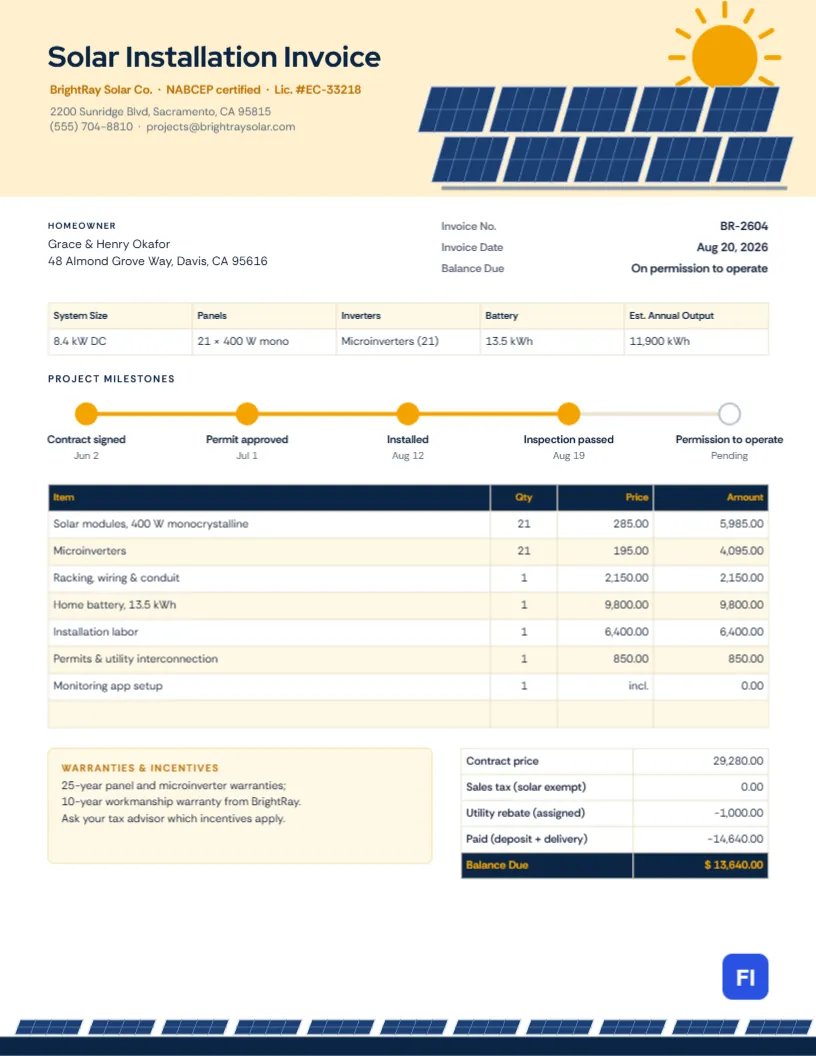
A home solar installation is one of the largest purchases a household makes, and it unfolds over months: signing the contract, pulling permits, installing panels, passing inspection, and finally receiving the utility’s permission to operate. Homeowners want to see where their project stands and what they have paid at each step. This Solar Installation Invoice Template shows it at a glance, with a milestone tracker across the page and a bright header where a rayed sun shines over a tilted array of solar panels.
Solar Installers, Battery Contractors and Electricians
It suits residential solar installers, solar-plus-storage contractors, electricians who install panels and batteries, EV charger and home energy upgrade companies, and small commercial solar firms. The sample shows BrightRay Solar Co. invoicing a homeowner in Davis, California, for an 8.4 kW system with twenty-one 400-watt panels, micro inverters, racking and wiring, a 13.5 kWh home battery, installation labor, permits and interconnection, and monitoring setup.
A Sunny Header With a Panel Array
The top of the page is a warm, pale yellow, like morning light. In the top-right corner, an orange sun radiates twelve short rays. Beneath it, two rows of deep blue solar panels sit at an angle, each divided into cells by fine, lighter lines and mounted on a gray rail. On the left, Solar Installation Invoice is set in bold navy Red Hat Display, with the company name, certification, and license number in deep amber and the address and contact line in gray. A row of small panels on a navy band repeats the motif at the foot of the page.
The homeowner block and the invoice number, invoice date, and balance due condition come first. A strip records system size, panels, inverters, battery capacity, and estimated annual output. The project milestone tracker follows: five circles on a line, four filled in amber for completed steps and one empty for permission to operate. The items table, a warranties note, and the totals complete the page.
Reading the System Specs
Homeowners often find solar vocabulary confusing. This short guide explains the terms in the specs strip:
- System size (kW DC): The combined rated power of all the panels. Twenty-one 400 W panels make 8.4 kW.
- Microinverters: Small inverters under each panel that convert its direct current to household alternating current.
- Battery capacity (kWh): How much energy the battery can store for evenings or power cuts.
- Estimated annual output (kWh): The energy the system is expected to produce in a typical year, based on roof angle, shading, and local sunshine.
- Permission to operate (PTO): The utility’s approval to switch the system on and connect it to the grid.
The Milestone Tracker
Solar projects take weeks or months, and homeowners call often to ask about progress. The tracker answers that question on the invoice: contract signed, permit approved, installed, inspection passed, and permission to operate, each with a date or Pending. To update it, change a circle’s fill from white to amber and move the end of the amber progress line to reach it. The labels and dates beneath are plain text.
Progress Payments and the Balance
Solar contracts are usually paid in stages. In the sample, the contract price of $29,280.00 is reduced by a $1,000 utility rebate assigned to the installer and by $14,640.00 already paid as a deposit and on equipment delivery, leaving $13,640.00 due when the utility grants permission to operate. Many states exempt solar equipment from sales tax, which the totals show as zero; check the rules where you install.
Incentives: Be Careful What You Promise
Tax credits, rebates, and other incentives for solar change often and depend on the customer’s situation. The warranties note on the invoice suggests that homeowners ask a tax adviser which incentives apply, rather than printing an estimated credit. Only show a rebate on the invoice when it has been approved and assigned to you, as the utility rebate in the sample is.
Editing the Specs, Items and Totals
The specs strip, the items list, and the totals are editor tables. Double-click them or use Edit Table Data, and change the number of lines with + Add Row and – Remove Last. Every figure is typed text, so recalculate each amount and the balance by hand after any change, and keep the totals consistent with your contract’s payment schedule.
Changing the Sun and Panels
The sun and its rays form one group, and the panel array another, so each can be moved, resized, or recolored in one step. Navy and amber suggest clean energy and sunshine; teal and yellow or charcoal and lime also work well. The footer panel row is a separate group that can match any change you make to the header.
Paper and Digital Copies
The invoice fits US Letter paper. Email the PDF with each progress payment request and keep it with the permit, inspection card, and utility approval in the project file. Homeowners often need these documents when they sell the house, refinance, or claim incentives, so a clean final invoice is worth the extra care.
Warranties and Monitoring
Panels and micro inverters typically carry long manufacturer warranties, and installers add a workmanship warranty covering roof penetrations and wiring. The sample note lists both. Mention the monitoring app too: homeowners who can see their production each day are quicker to report a problem and far happier with their system.
Change Orders on the Roof
Solar projects sometimes change after the site survey: a main panel upgrade, extra conduit, a roof repair under the array, or a move to a different battery. Each change should be approved in writing and added to the invoice as its own line with the date of approval. Showing change orders separately keeps the contract price and the extras easy to compare.
Solar Invoice FAQs
Can I use this for a battery-only installation?
Yes. Remove the panel lines and specs you do not need, and keep the battery and labor lines.
How do I bill a financed system?
Show the lender as the payer for the financed amount, and bill the homeowner only for any down payment.
Can the tracker have more steps?
Yes. Duplicate a circle and its labels, and space them evenly along the line.