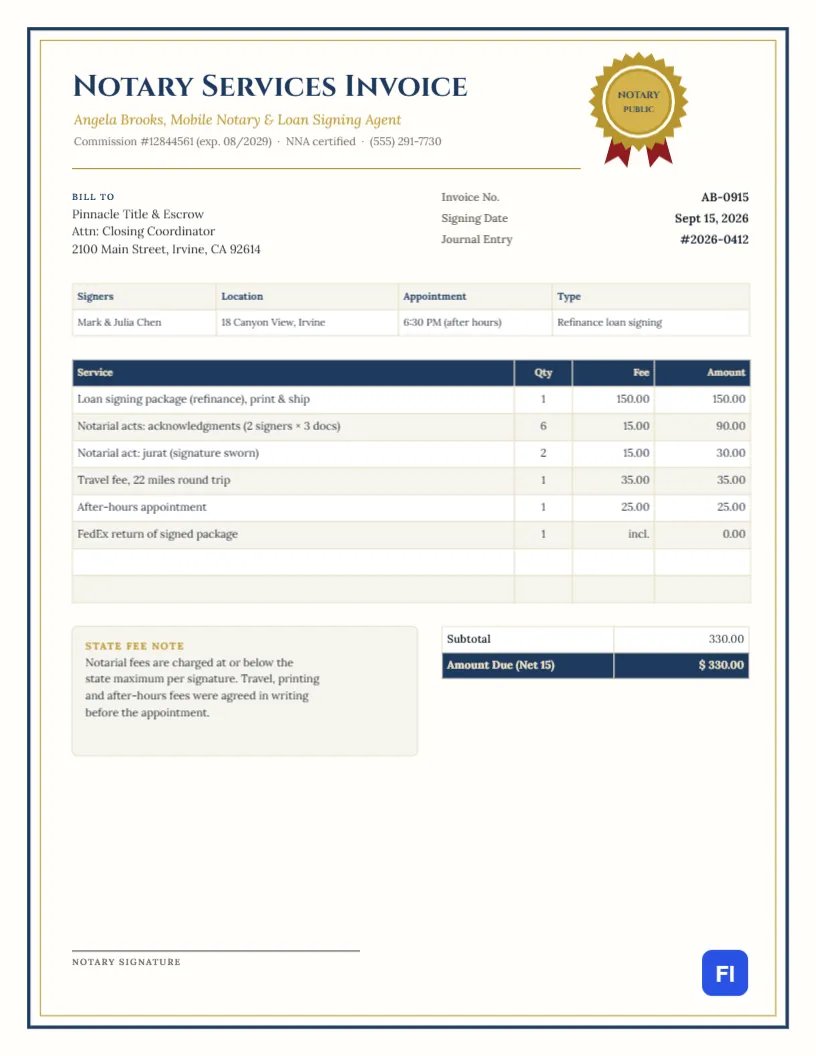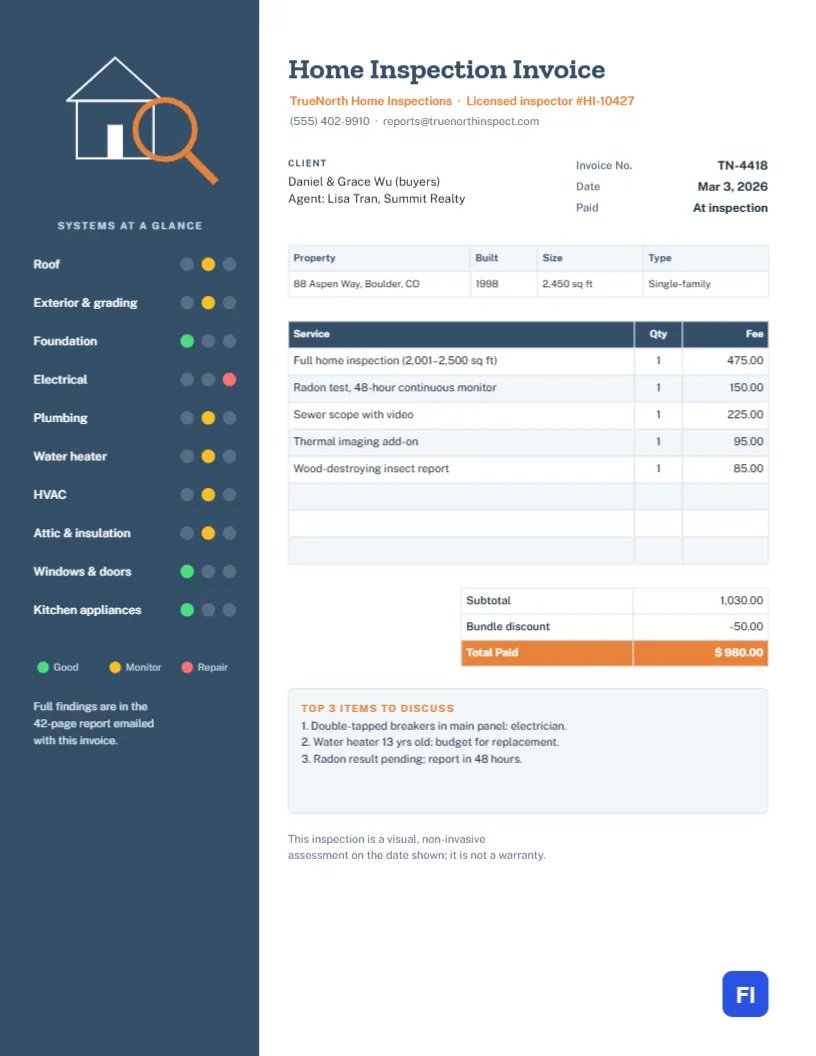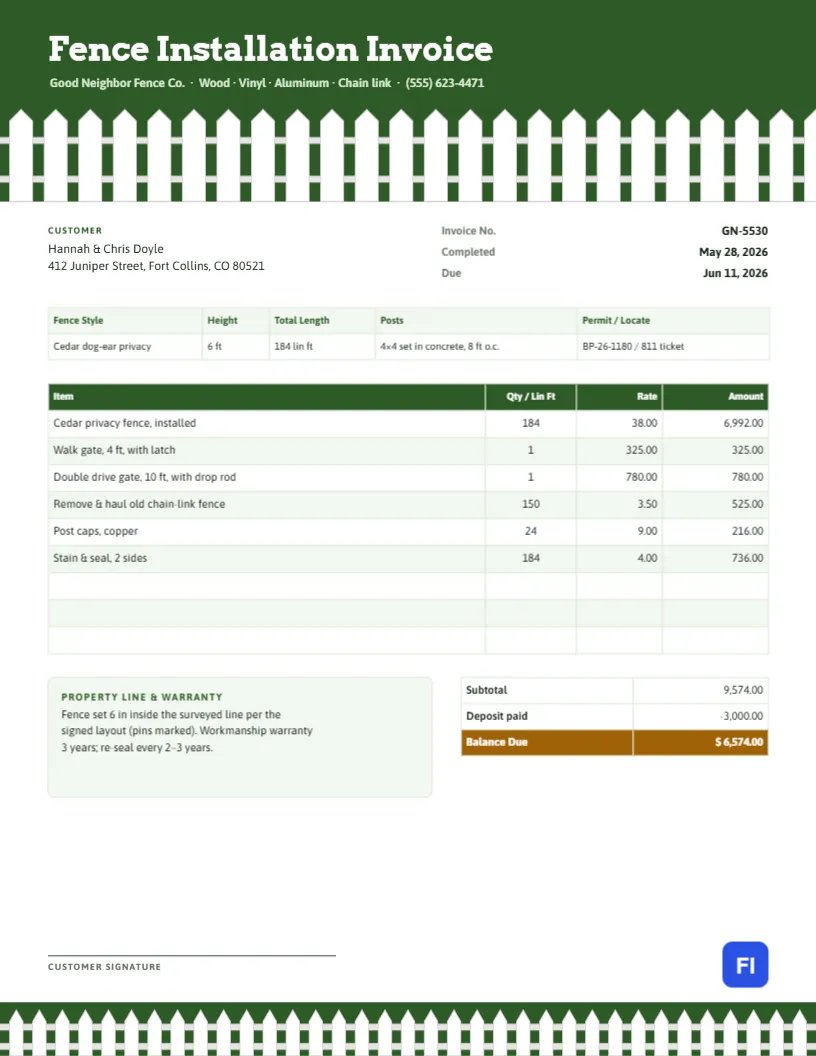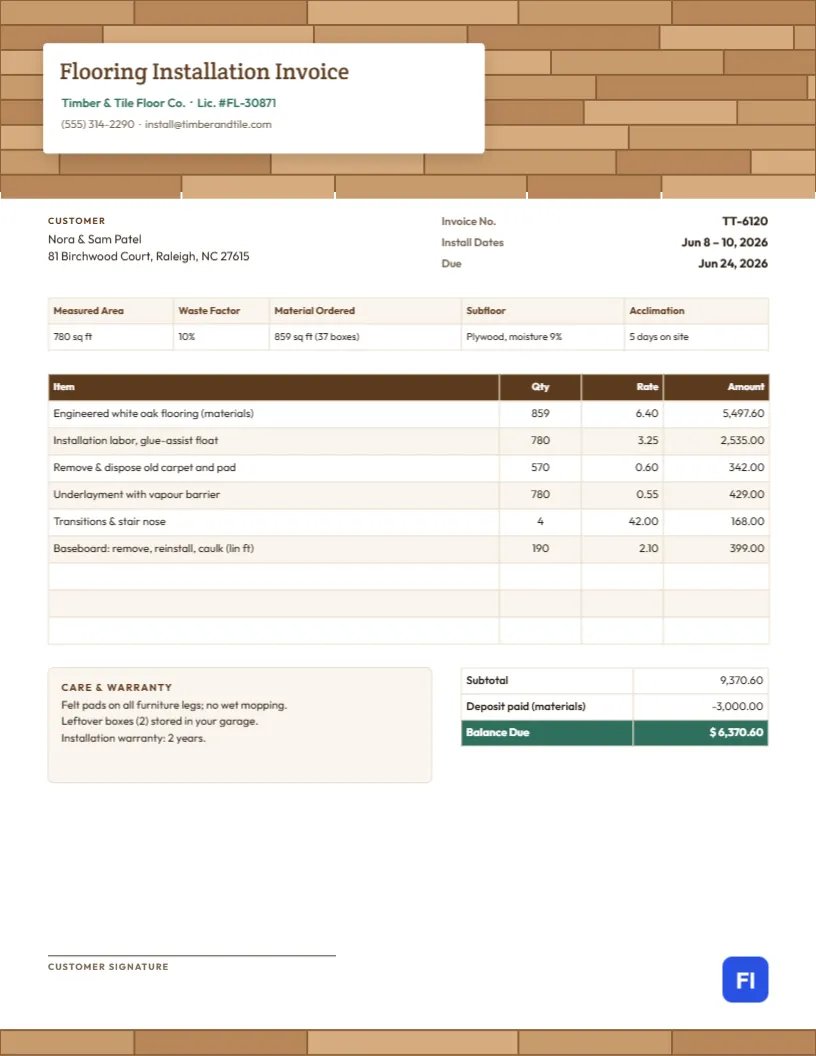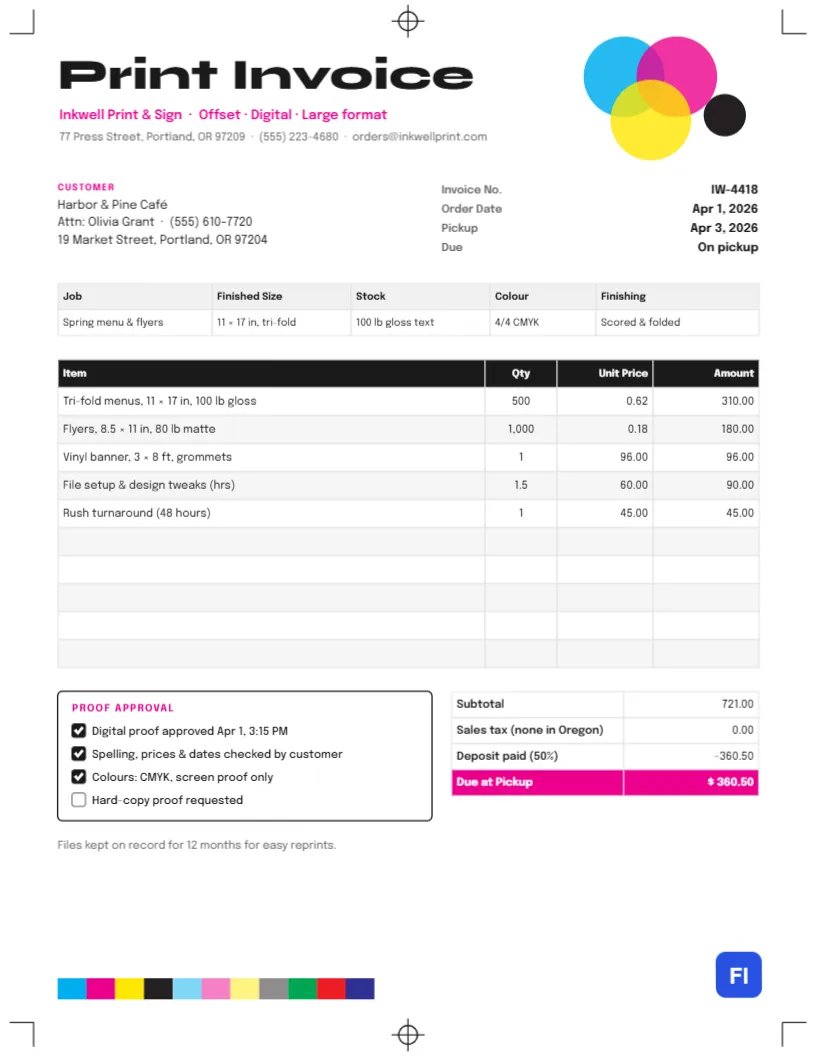
Every print job starts with a list of specifications: quantity, size, paper stock, colors, and finishing. Get one wrong and a thousand flyers go in the recycling bin. A print shop’s invoice should record those specs and the customer’s proof approval alongside the charges, so that there is never a question about what was ordered. This Print Shop Invoice Template does that, and looks unmistakably like it came from a printer: crop marks in every corner, registration targets top and bottom, overlapping cyan, magenta and yellow circles, and a color control bar near the foot of the page.
Print Shops, Sign Makers and Print Brokers
It suits commercial and digital print shops, copy centers, sign and banner makers, screen printers, print brokers, and designers who resell printing to their clients. The sample shows Inkwell Print & Sign in Portland invoicing a cafe for 500 tri-fold menus, 1,000 flyers, a vinyl banner, an hour and a half of file setup, and a 48-hour rush.
Printer’s Marks as the Frame
Instead of a colored header, the page is framed by the marks printers use to line up and trim a sheet. Thin black crop marks sit at all four corners, showing where the paper would be cut, and a registration target, a small circle with a crosshair, sits at the top and bottom center of the page. In the top-right corner, three overlapping circles in cyan, magenta and yellow, with a small black dot beside them, stand for the four process inks. Print Invoice is set in heavy black Syne, with the shop name and services in magenta and the address and contact line in gray.
The customer block and the invoice number, order date, pickup date, and payment terms follow. A strip records the job name, finished size, paper stock, colors, and finishing. The items table lists quantity, unit price and amount for each product. Below it, a black-bordered Proof approval box holds four checks beside the totals, followed by a note about keeping files for reprints and, near the bottom, a strip of solid color squares like the control bar printed on the edge of a press sheet.
Getting Print-Ready Files
Many reprints and delays come from files that were not ready for press. Share this checklist with customers before they send artwork:
- Set the document to the finished size plus 1/8 inch of bleed on every side where color runs to the edge.
- Keep text and logos at least 1/8 inch inside the trim line.
- Use images at 300 dpi at the printed size; screen images at 72 dpi look blurry.
- Convert colors to CMYK, or tell the shop which Pantone colors must be matched.
- Outline or embed fonts, and export a press-quality PDF.
File setup and design tweaks, when needed, appear as their own line on the invoice, as they do in the sample.
The Job Specs Strip
The specs strip is the order in a single row. Record the job name the customer uses, the finished size and fold, the paper stock by weight and finish, the colors (4/4 means full color on both sides), and any finishing such as scoring, folding, laminating, or grommets. When the customer reorders next season, you can print the same job from these specs.
Proof Approval Protects Both Sides
A signed or recorded proof approval is the print shop’s best protection. Once the customer has approved the proof, including spelling, prices, and dates, errors in their own content are their responsibility. The checklist on the invoice records when the digital proof was approved, that the customer checked the text, the color method used, and whether a hard-copy proof was requested. Screen proofs cannot show exact color, and the checklist says so.
Menus, Flyers and the Pickup Balance
The menus, flyers, banner, file setup, and rush fee total $721.00. Oregon has no sales tax, so the tax line is zero; change it for your state. A 50% deposit of $360.50 was paid with the order, leaving $360.50 due at pickup.
Editing Specs, Items and Totals
The specs strip, items list, and totals are editor tables. Double-click to edit or use Edit Table Data, with + Add Row and – Remove Last to adjust the number of products. Prices are typed text, so multiply quantities by unit prices, add any rush or setup fees, and update the totals yourself.
Changing the CMYK Circles and Color Bar
The CMYK circles are grouped and set slightly transparent, so where they overlap the colors mix like inks on paper. The color bar is another group of squares; recolor it with your own brand colors if you prefer. The crop marks and registration targets form one group that frames the page; they are part of the design, not real trim marks, so the invoice prints normally.
Printing the Printer’s Invoice
This invoice is sized for 8.5 by 11-inch paper. As a print shop, you can show off a little: print customer copies on a bright white, smooth 100 lb text stock so the magenta and cyan pop. The crop marks sit just inside the page edge, so they print on standard printers without being cut off.
Signs, Banners and Installations
Sign jobs often include design, production and installation on site. List each part separately: the sign or banner with its size and material, any hardware such as grommets, stands or brackets, and installation labor with the address. Permits for exterior signs, where required, can also be billed as a separate line.
Reorders and Standing Jobs
Menus, business cards, and forms are reordered again and again. Keep each job’s specs and final files on record, as the note under the table promises, and quote reorders from the same specs. Customers love being able to say the same as last time, and it saves you setup time on every repeat job.
Print Shop Invoice FAQs
Can I show paper costs separately?
Most shops include paper in the unit price, but you can add a paper line for special stocks.
How do I record a reprint for an error?
Add the reprint as a line with a price of zero and note the reason, such as Reprint: shop error.
Can I use this for a print broker job?
Yes. List the products at your selling price; you do not need to show the printer’s cost.